Click-to-call web widget
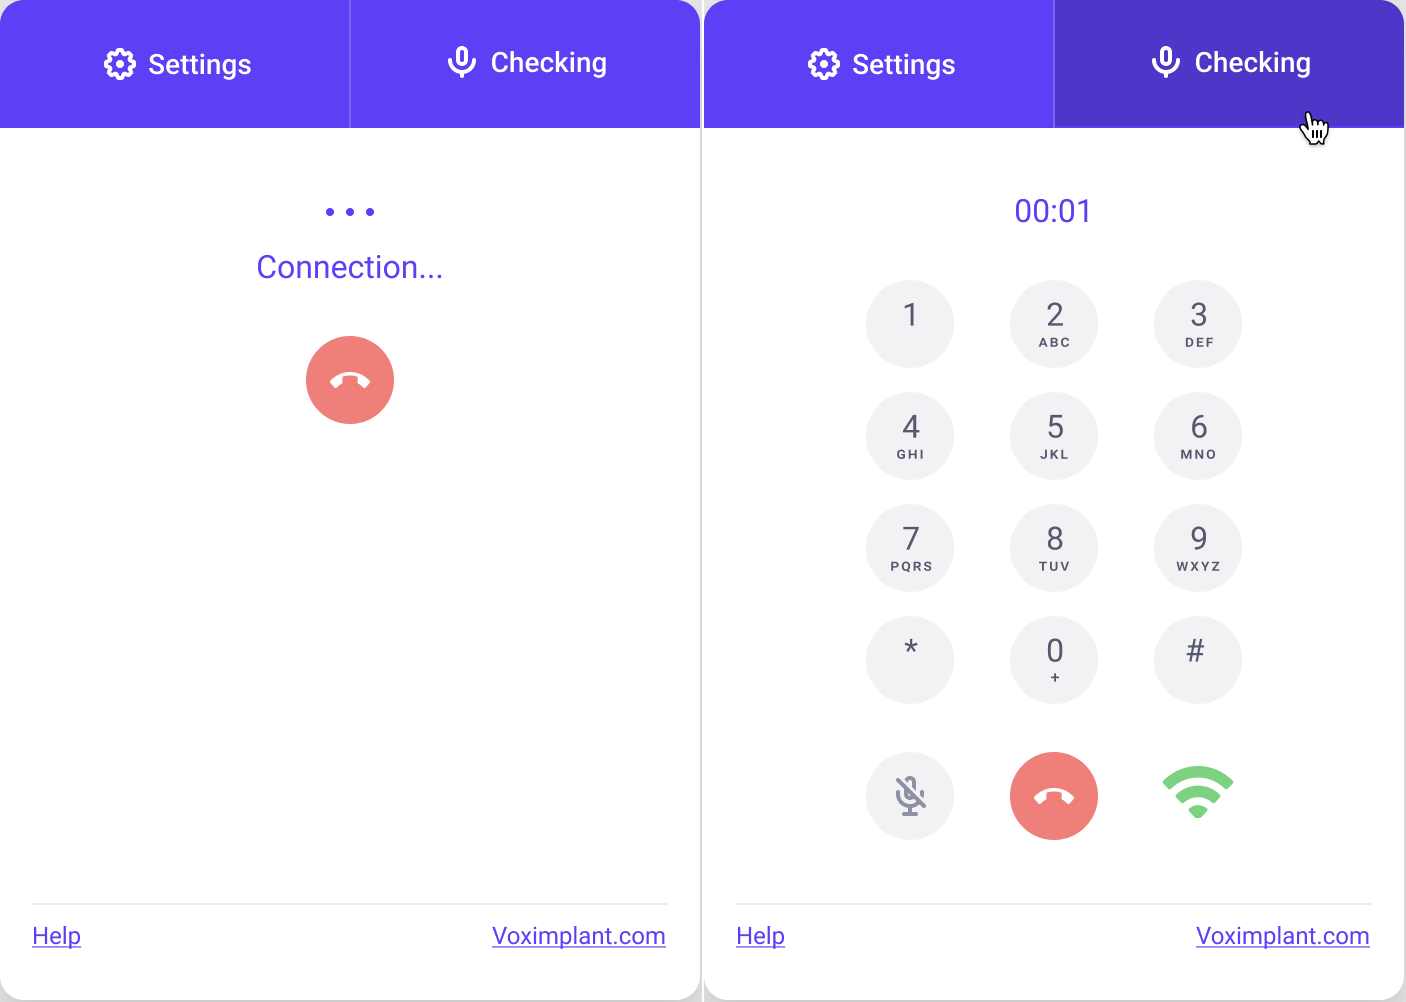
A click-to-call widget is a button on your website that enables customers to make a VoIP call without leaving the site.
Key features:
Call a Voximplant user/SIP address/phone number.
You can dial an extension number after the call establishes.
You can mute/unmute your microphone during the call.
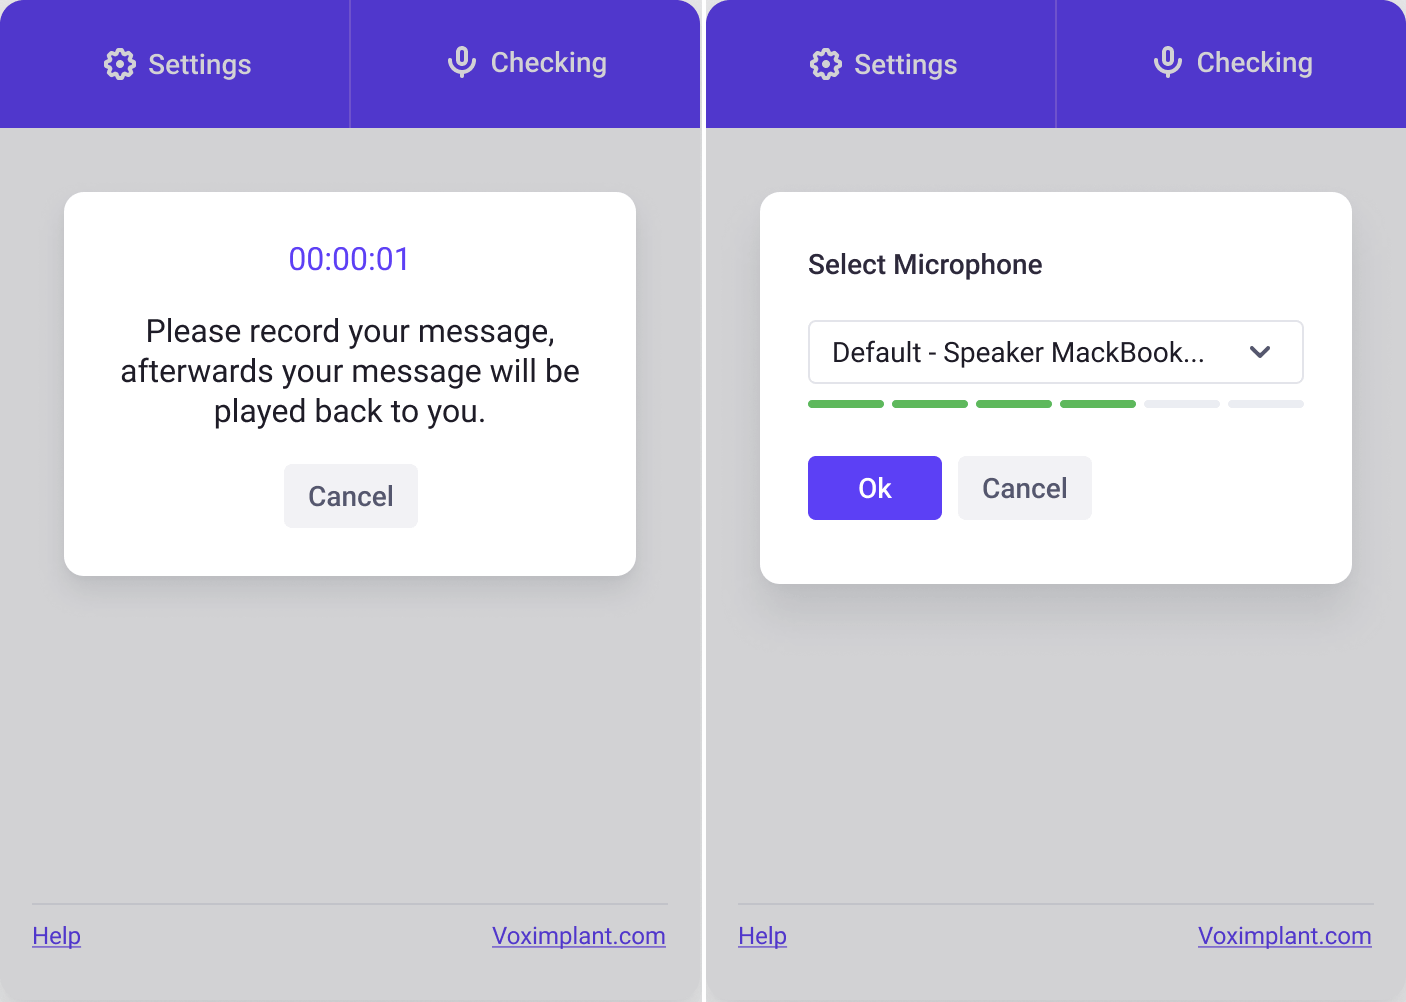
You can choose the microphone and test it by recording your voice and playing it back.
You can see the connection status and quality.


Contents
How to use
The setup consists of two parts: VoxEngine cloud setup and the widget's source code setup.
VoxEngine setup
- Create an application.
- Create a user to log in to the widget.
- Create a scenario for the microphone check. Copy this code into your scenario and save it.
- Create a separate scenario for the call itself. You can choose to call a phone number, a Voximplant user, or a SIP address. Depending on the destination, copy the appropriate code example into your scenario.
Use this code if you are going to call a user:
Use this code if you are going to call a phone number:
Use this code if you are going to call a SIP address:
If you want to call a phone number, you need a verified Caller ID. You can buy a phone number from Voximplant or use any phone number that is verified via an automated call from Voximplant and a confirmation code.
- Make a routing rule for the microphone testing scenario. Set the mask pattern to
testmicand place the rule at the top. - Make another routing rule for the call scenario. Place the rule below the microphone testing scenario.
The VoxEngine setup is complete. Now, let us begin with the widget itself.
Application setup
- Download the widget repository.
- Run
yarn installornpm installin the widget directory. - Rename the .env.example file to .env.
- In the .env file:
Fill your user credentials into the
VUE_APP_USERandVUE_APP_PASSWORDproperties.Add the number to call to the
VUE_APP_NUMBERproperty.Fill the
testmicstring to theVUE_APP_TEST_NUMBERproperty.
- Run
yarn serveornpm run serveto run the development build. - Open the http://localhost:8080/ URL to test the application.
- Once the application works correctly, you can assemble the application.
- If you do not plan to upload the application to the webserver root folder, set up the
publicPathproperty in thevue.config.jsfile. See the instruction. - To make a production build, run
yarn buildornpm run build. - The
distdirectory contains the production build ready to upload to the server.
Folder descriptions
public — Project's static materials, such as favicon and the index.html template, where you can add any additional code, such as action counters.
src — Voximplant project code.
src/assets — assets: images and sounds.
src/components — application source code.
src/router — application routing files.
src/views — application pages: Home.vue is the default page, Button.vue is the button page to be placed on the website.
Miscellaneous
The get parameters starting with
x-are sent as headers to the VoxEngine scenarioYou can see the widget example in a new window at: http://localhost:8080/button
Download our demo
Here you can download our click-to-call widget demo for your instance:
